
This post may contain affiliate links. If you click on a link and make a purchase, I may receive a small commission at no extra cost to you. For more information, please read my disclaimer here.
We’ve been cooped up at home lately with the baby trying to get on a normal nap schedule. With that, my toddler is going stir crazy on these rainy days inside. I’ve been determined to find ways to keep her busy while still being educational.
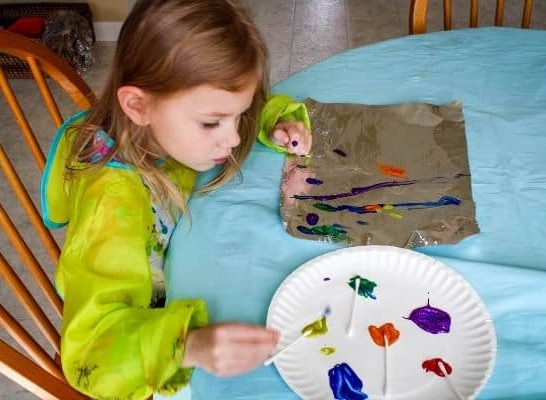
I love this craft because it lets your child see painting in a whole new way. My toddler is 3 and she was more independent than ever painting on her aluminum foil.
The colors come off as vibrant compared to on a white sheet of paper and the aluminum foil doubles as a sensory object. Paper is usually flat while the aluminum foil typically isn’t all smooth.
Your toddler can feel the ridges on the sides and the creases throughout the entire piece, making this a quick educational craft.
This foil painting sensory art is a very simple craft you can do with just a few supplies.
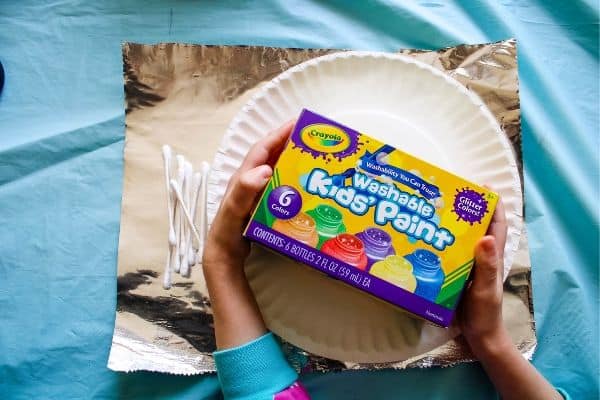
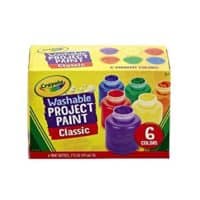
- Nontoxic paint
- Q-tips
- Paper plate or paint holder
- Aluminum foil
- Art Smock
- Plastic reusable tablecloth
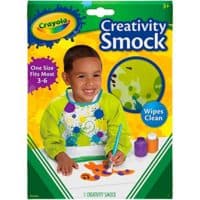
An art smock and plastic tablecloth are crucial when painting with toddlers. We use this budget-friendly Crayola Art Smock we bought off Amazon. It’s the only smock we’ve ever used and is still going strong after 2 years!
We also use a plastic tablecloth (those cheap ones you buy for birthday parties). It folds up nicely and you can store it anywhere.
Since both products are made of polyester and plastic, your toddler’s clothes will stay clean and the paint will wipe right off.
Related Articles:
The Best 2 Year Old Games (Includes Board Games!)
38 Super Fun Things to Do With a One Year Old All Year Round
An Easy Way to Make Toddler Quiet Bins
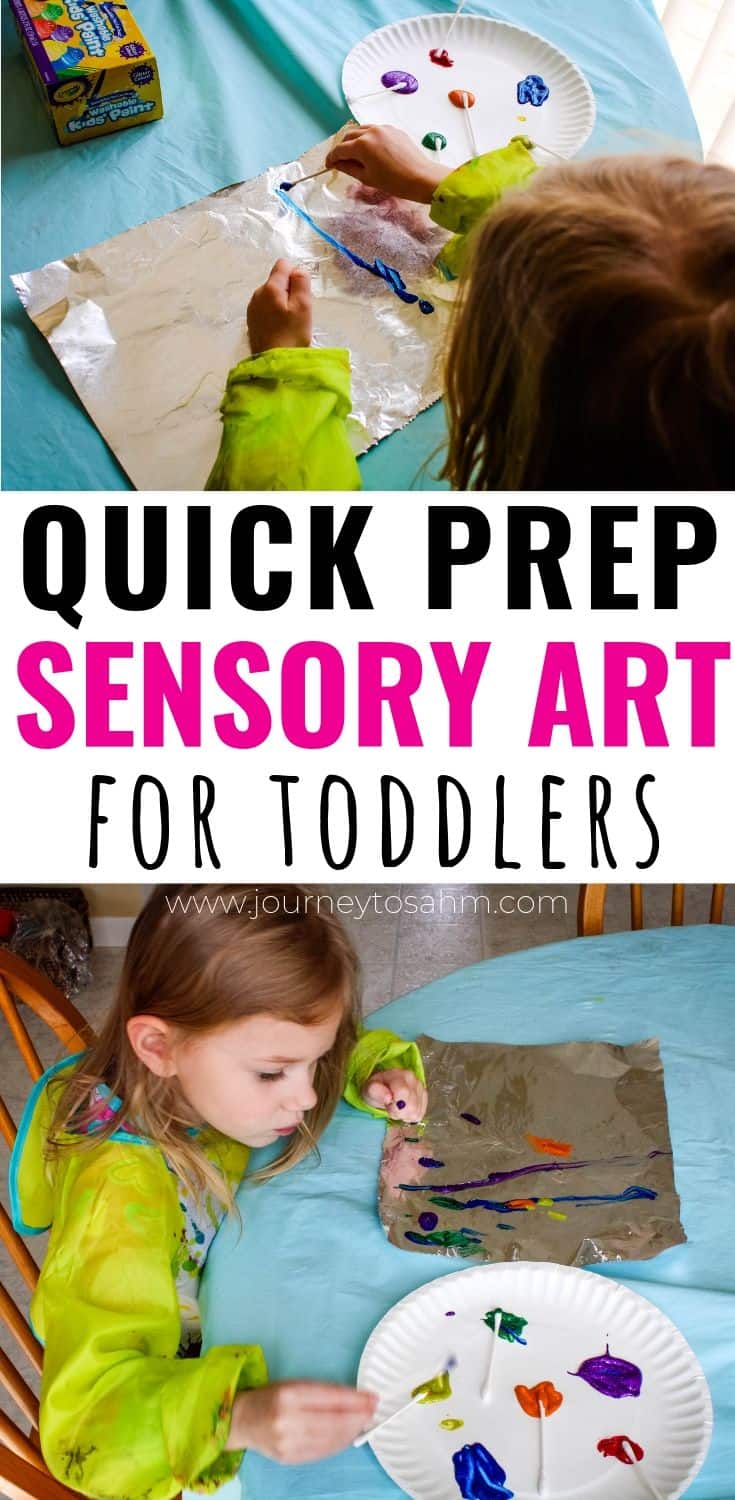
How to Make Foil Painting Sensory Art
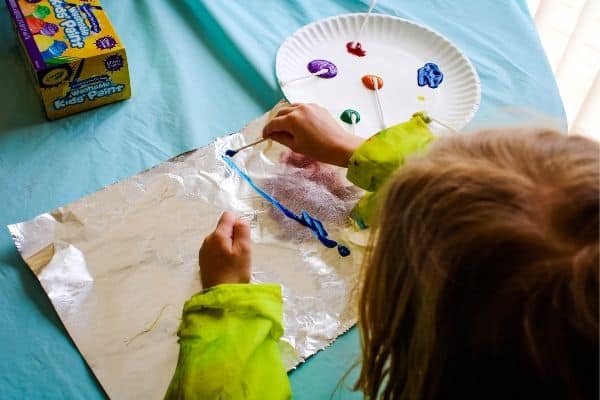
Tear 12 inches of aluminum foil off and put it on the table. It’s okay if there are some creases and it’s not completely flat. That’s what makes this sensory art special.
Use the paper plate to pour all different paint colors about 2 inches apart from each other.
The paper plate allows the colors to be more separated than if you use a small paint palette. It also lets them be messy without getting it on anything else.
Put one Q-tip in each of the colors of paint. Have extras on hand just in case. My daughter wanted two extras when she accidentally dipped them in the wrong colors.
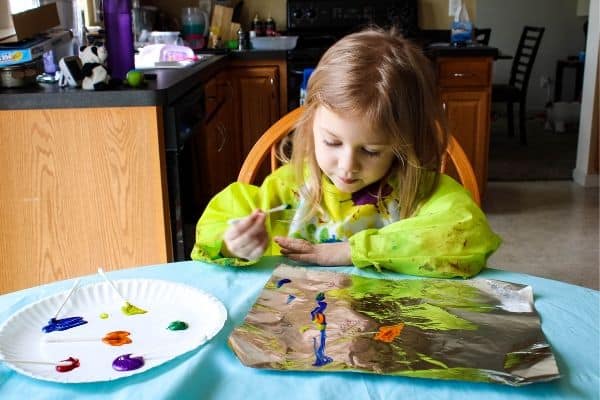
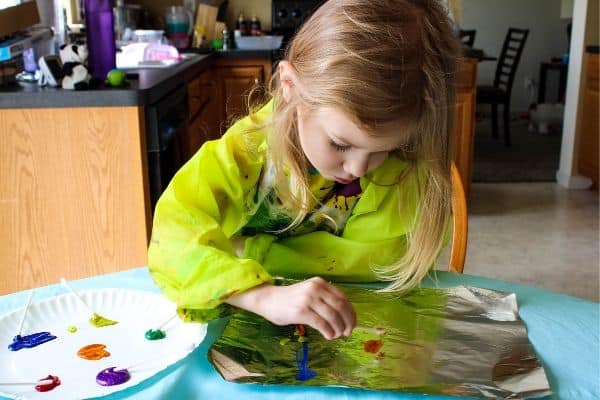
Let your child be creative and paint anything they want, as long as they stay on the aluminum foil.
They can even paint with their fingers!
One easy way to take this foil sensory art to the next level is by making extra creases in the aluminum foil. Crinkle a quarter, a half, or even the whole sheet of foil.
Your toddler will have fun feeling the bumpiness of the foil.
Allow an hour or two for the foil to dry before displaying it on the fridge. You can also let your toddler crumble it up for another effect!

Foil Painting Sensory Art
A fun simple sensory art project for toddlers of any age!
Materials
- Nontoxic paint set
- 10 cotton swabs
- Paper plate or plastic paint palette
- Aluminum foil
Optional
- Toddler art smock
- Reusable plastic tablecloth
Instructions
- Tear 12 inches of aluminum foil off and put it on the table.
- Pour each color of paint onto the paper plate or palette.
- Put one cotton swab in each of the colors of paint. Have extras on hand just in case.
- Let your child be creative and paint anything they want, as long as they stay on the aluminum foil. They can even paint with their fingers!
- Allow an hour or two for the foil to dry before placing it on the fridge.
Notes
One easy way to take this foil sensory art to the next level is by making extra creases in the aluminum foil. Crinkle a quarter, a half, or even the whole sheet of foil before or after painting.
Recommended Products
As an Amazon Associate and member of other affiliate programs, I earn from qualifying purchases.
Natashia
Monday 17th of June 2019
Growing up, my mom and I walked to local parks and recreation center. Every Tuesday and Friday she and I would make pottery or some type of art. I don't have any of anymore but I vividly remember an Easter egg I made and painted. Because of my mom and that time we had together, I am an avid lover of art and I love to create things. My daughter, ironically, is the same way. This activity looked fun and although my children are 11 and 9 respectively, they would still enjoy this.
Jennifer Morrison
Thursday 13th of June 2019
My Mom was a preschool teacher, so I and my kids have done almost every art project ever....but not this one!!! This looks great I am going to share this idea with her.
Emily
Thursday 13th of June 2019
This is such an easy, fun activity! Can't wait to try it!!
Meredith
Wednesday 12th of June 2019
What a great twist on your average painting project! My 4-year-old would absolutely love this. Definitely saving this idea for our next painting day!