
This post may contain affiliate links. If you click on a link and make a purchase, I may receive a small commission at no extra cost to you. For more information, please read my disclaimer here.
They say ladybugs bring good luck. My daughter has been obsessed with ladybugs ever since she found one in our basement. She went down to visit it every day. We had to steer her away from this ladybug that wasn’t even alive on day one.
She just had the most excited innocent smile on her face. We couldn’t ruin that. We needed a distraction, so I created a ladybug paper craft and it worked! Yes, she had to bring it downstairs to show her little ladybug friend, but sent him “home to his mommy and daddy” as she calls it.
You can see her obsession in my Bookroo post as well. If you haven’t tried Bookroo you’re seriously missing out on some good books!
Love ladybugs too? Try this delicious Strawberry Ladybug Cupcake recipe!
I always recommend creating craft bags ahead of time to make craft time more enjoyable. This means taking the time to cut out a few paper plate crafts and placing them in bags ahead of time. It allows your toddler to jump right into the actionable parts of the craft. The fun part.
Related Posts:
- Easy Caterpillar Craft
- How to Stop Your Toddler from Hitting
- Best 2 Year Old Board Games
- Easy Strawberry Ladybug Cupcake Recipe
- The Easy Way to Make Toddler Quiet Bins
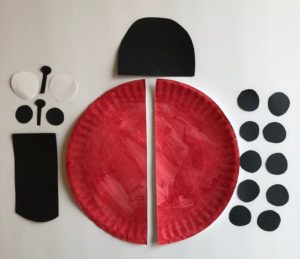
The Parts You Need
1 white paper plate
red washable paint
1 wide paint brush or foam brush
1 piece of black construction paper
- 10 dots for the ladybug spots
- 1 semi circle head
- 2 smaller black pupils
- 2 antennas
- 1 back of the ladybug – this will cover the bottom part of the ladybug
1 piece of white paper
- 2 eye whites
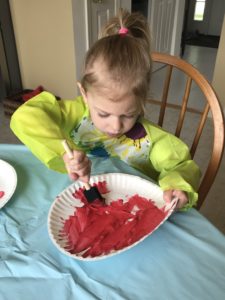
Painting is Always a Fun Time
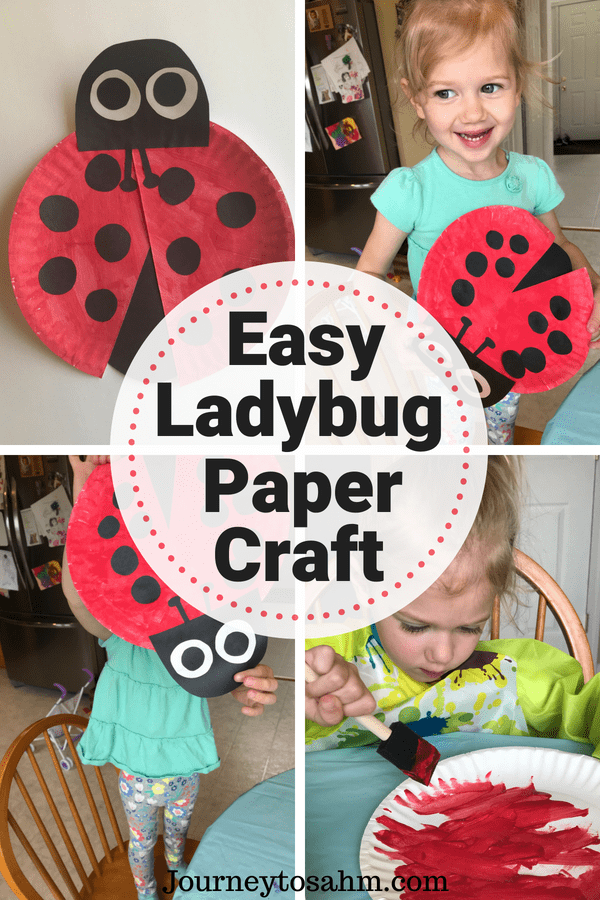
Start by taking a paper plate and painting it red. My daughter loved having free range over the paint to go anywhere she wanted. Thankfully she stayed on the plate, for the most part. Our reusable plastic table cover and reusable smock helped keep the rest off the table and clothes.
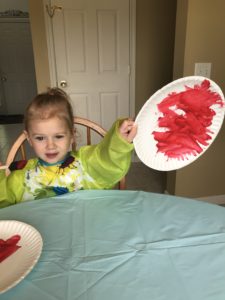
Let the paper plate dry. It will probably take about an hour. I did this right before my daughter’s nap so we could finish it as soon as she woke up.
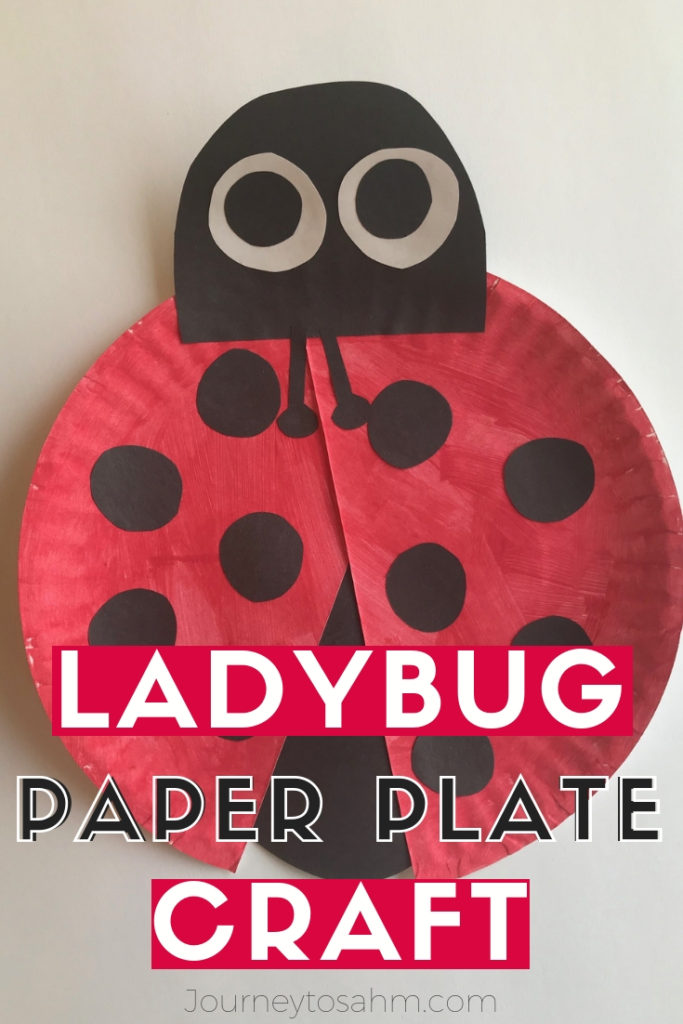
Assembling the Ladybug Paper Plate Craft
Cut the paper plate in half and twist the top so the bottom parts no longer touch and the tops are overlapping. Glue together tightly. The bottom should have a gap of about 1- 1 ½ inches.
Now add on the back of the ladybug. It will take some glue all around the outsides to place this part, so feel free to make this part bigger than needed. Any leftover will be covered by the back of the plate.
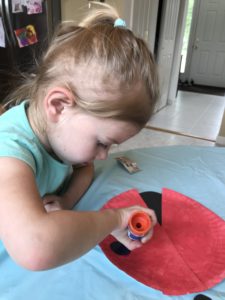
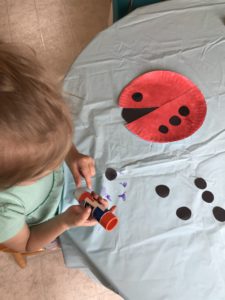
Now have your toddler glue the 10 ladybug spots on the paper plate. The idea if to have 5 on each side, but let them be creative and place them where they would like. If you allow them to be creative, they will be even more proud of the completed result.
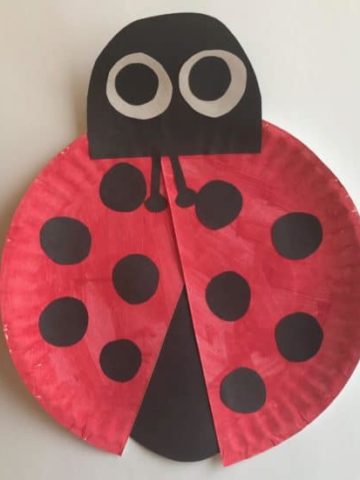
Next place the ladybug head at the top of the paper plate. It may cover up a spot or two, but that is okay! That’s what makes their ladybug unique. Glue the 2 white eyes on the head with the 2 black pupils in the middle. The last part is gluing the 2 antennas off of the head, with the larger “bulb” side toward the paper plate.
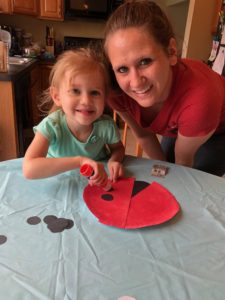
Leah had so much fun making her ladybug. Just look at that smile on her face! She ran around the house with it yelling “Li Li, Li Li” (that’s what she calls a ladybug). I made a ladybug paper craft with her, so I put ours next to each other to see if she could tell them apart. Each time I tried to trick her, she knew exactly which was hers. And every time she picked it, she had the biggest grin on her face of her own work.
Holly
Friday 29th of June 2018
Oh what a cute craft. I'm sure your little one had a blast!!
moondreams
Friday 29th of June 2018
That looks like so much fun! Love the end result! My daughter is still a bit too young, so I'll have to save this for next year!
Samantha
Friday 29th of June 2018
Less than a year to go! We started doing crafts like these with my daughter once she hit 2 years old.
Sarah
Friday 29th of June 2018
This is so cute and your daughter looks so happy! Good job, mom! I’m going to try this with my sons! Thanks!
Samantha
Friday 29th of June 2018
Aww thank you! Your sons will love it Sarah. Can't wait to see the smiles on their faces!
Aliya T
Friday 29th of June 2018
This is a super cute idea. I absolutely love it. I’m definitely going to try this with my daughter and niece over the summer break. Thanks for sharing ?
Samantha
Friday 29th of June 2018
I'm sure they will love making it together Aliya! I love making crafts with my daughter and niece.
Jasmine
Thursday 28th of June 2018
This is super cute! I can't wait to try this with my toddler
Samantha
Thursday 28th of June 2018
Your toddler will love it Jasmine!